Showing posts with label craftsy artsy fartsy. Show all posts

Monday, March 7, 2011

Martha Stewart Punches

I have a fairly modest collection of Martha Stewart punches, and I haven't added to it in a while.
But after seeing this post, I want drive to Michaels rightnow,  so I can garland up my house.

I also like the happy birthday punch!
Are there any craft items that you lust over?

Sunday, March 6, 2011

I Lust After Letterpress: weheartpaper

I saw this and immediately I gasped.  So adorable!


On my bucket list is to ride in a hot air balloon.  

I think this is cute too!

Unique LA is coming up in a couple months, can't wait!

Saturday, November 6, 2010

I Lust After Letterpress: ilee Papergoods

I am LOVING the goodies from ilee Papergoods.  Check out their etsy shop here.

I look forward to going to local craft fairs throughout the year so I can stock up on letterpressed goodies!  I might splurge on a 2011 pretty calendar if I can find the right images.

Tuesday, March 30, 2010

One "Kite" Wonder

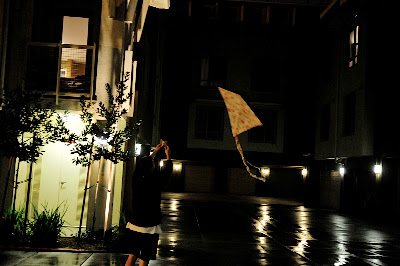
It sure didn't fly like one, but it sorta looked like one!  I'm talking about the kite that we made especially for our engagement pictures.  While browsing through engagement pictures previously taken at Griffith Park, I came across this blog post and as soon as I saw this last picture I knew that I wanted a kite.  Yeah, I saw the picture on Friday, we made it on Saturday, and we posed with it on Sunday.  Because I'm last minute like that.

And here's how we did it.  Note, I would not recommend that you fly this particular kite for reals.  Good for vanity purposes only.
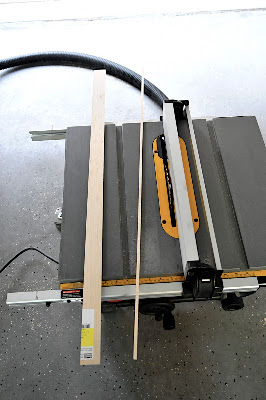
We used craft balsa wood from Michaels.  Though it's very light, it's also really brittle.  Which is why during our session, it broke apart about 2 shots in.  For the subsequent retakes, I was gripping it together with my hands.  Since we were so far away and were silhouetted anyway, it didn't really matter.  I don't even think we brought wood glue with us.  We decided, whatever happens, happens, and whatever shots our photog took, those were the shots we were gonna get. 
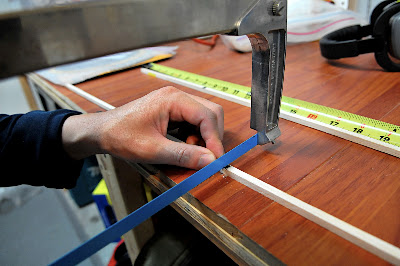
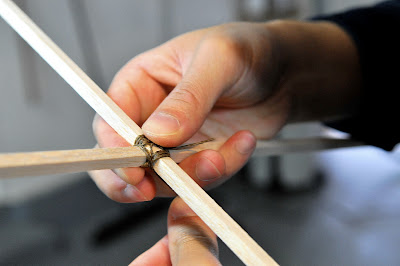
Saw some notches in the middle.
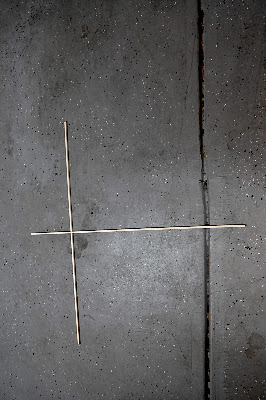
So that they fit like this.  We used two sticks equal in size and adjusted it to give it a diamond shape.  But the sky's the limit- size it according to whatever you want!
 A closer look.
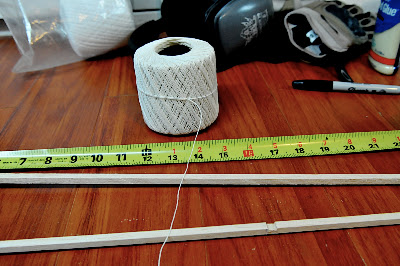
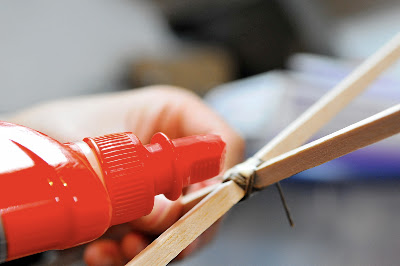
Then use heavy string or twine to wrap over and over the notched area so that it will stay in place.
Use glue to reinforce (we used wood glue here)
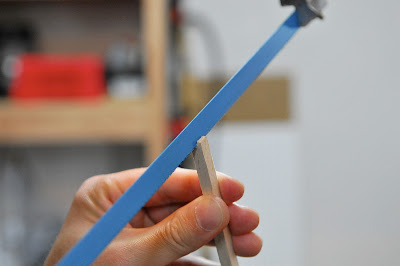
Saw notches at the end...
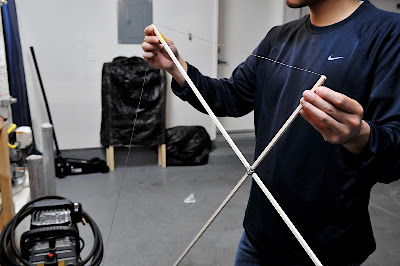
So that you can put the string/twine all around to form a diamond shape.
Again add wood glue to keep it strung more securely.  As you can see, we didn't even bother to peel off the price tag/upc. 
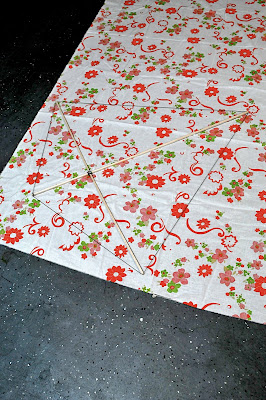
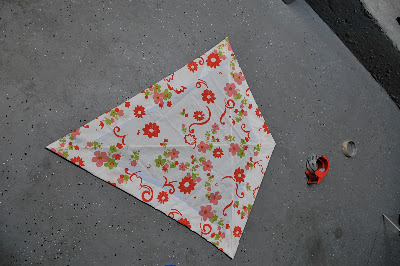
Choose your fabric, lay down your "template" and then cut around it.  I left about 1.5-2 inches extra all around for the "hem".

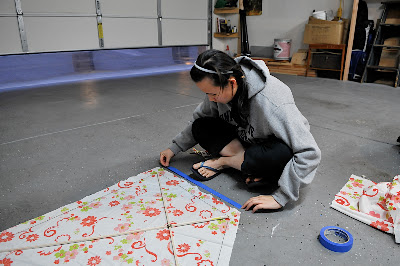
Okay, if I was ever going to seriously fly this thing, I probably would have sewn it.  But tape well worked in a pinch as a "hem".
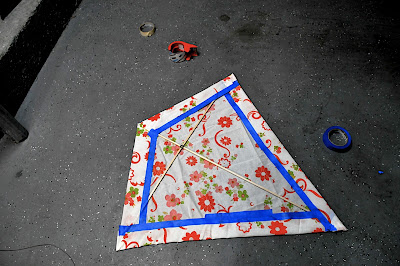
The other side. Looks like a tailless and spring-time girly manta ray.
Jer also fashioned this cardboard makeshift thing to hold the string.  Not pictured here, but I also cut strips of the fabric and made kite "tails."
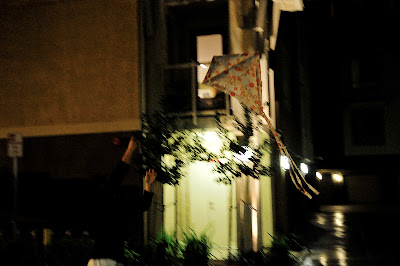
Yes, it rained the night before our session.  The bit of wind leftover over from the storm gave it brief flight!
We made 2 of these kites just in case one broke during the session.  And sure enough, one of them broke that night!  I forgot how it broke, so it was good that we made two.  We glued the broken one back together, but we ended up not bothering to bring it the next day.
All that work for one shot!  But I love that shot so it was worth it.  Talk about dedicating time/resources for a last minute craft that lasted less than a day...

Oh wait.  That's what a wedding is.  But let me be cheesy and say that those memories last a lifetime! :)

Tuesday, December 29, 2009

Inspiration: I Spy Photo Kiddie Scavenger Hunt

Seriously, how did people plan weddings before there were INTERNETS?

I'm floored by the plethora of ideas and inspiration out there.  I'm also overwhelmed.  I've bookmarked hundreds and hundreds of tutorials, tips, and templates and I haven't made the time to sit down to sift through them all.  But I've made some goals for this long weekend: I will clean out my starred reader items this weekend.  Serious!!  I'm also planning on cleaning out my closets.  I will also clean out our DVR of all its No Reservations reruns. I'm a pretty ambitious person, you see.

Speaking of ambitious, here's another wedding DIY that I want to add to our growing to-do list:


I'm thinking of incorporating this for the kids, to keep them occupied throughout the event.  I think some of the kids will probably be bored with it at some point during the wedding, but it has the potential to engage enough kids that hopefully we'll end up some fun and creative shots!  On more than one occasion I've handed off my old Olympus C7000, our former XTi, and our current D300 to my cousins and about 1 out of every 10 pictures come out pretty decent...or interesting.  Kids have unique angles and ways of seeing things.  I'm not all too concerned with the quality of the pictures, I'm more concerned with keeping them busy and maybe getting something fun out of it!

Next step: find a great deal on disposable cameras!  We're only looking to buy btwn 15 and 20 of them.  There should be around 25-30 kids that will be coming, but some of them are quite young so maybe I'll give them some boxes to play with.  (Just kidding.)  (Have you noticed that kids younger than 4 are more interested in the wrapping paper and boxes than the actual gift?)  I'd like a disposable camera with less than 20 exposures, but most seem to come with 27, and for some reason the ones with 15 exposures are more expensive?!

Step #2: jazzing up the cameras.  I found this great tutorial on Weddingbee for camera casing templates from Miss Cola.  Since we aren't making that many, I don't see this step being too labor intensive.  I also, want to build on that idea and create a camera "strap" for the kids to hold around their necks.  I think it could be as simple as inserting eyelets on each side, and then knotting some sturdy ribbon through them.  We'll see :)  Kids tend to set things down and they'll run around, thus losing whatever they had before, so I want to take even another step further and label each camera with their respective names.  That way, we'll know which shots came from which kid!

Step #3: creating the I Spy Cards.  This is a really nice template from MS, but I think I'd like to adapt it to our wedding colors, and I'd probably change the font as well as the size.  This font is really cute, but not that readable for a 6 year old.  Also, the colors are pretty, but too light for readability, esp as the sun goes down.  I'd also like to change some of the items as well.  Mrs. Bee came up with this humongous list that I will definitely be drawing inspiration from!

Step #4: buy mini pencils. I'm trying to think of a way for the kids to hold onto their pencils and I Spy Cards. Those little pencils are great for small hands, but I know they'll lose them.  I may have Jerry drill a small hole in the pencil, and then I'll run a piece of string through them and attach it to either the camera or of the I Spy card.  But as I progress with this project I'm sure I'll come up something. 


That was the only picture I could find.  I guess drilling holes in pencils isn't a popular thing to do!

Okay.  One step at a time.

edit:  I just had a thought.  Will kids even know how to use a disposable camera!?  What if they want to "see" the image after it's been taken, b/c that's what they are familiar with?  Ahhh to grow up in the 2000s.  :)  Oh well, they'll learn.  :P

Wednesday, December 16, 2009

My First Real Tree

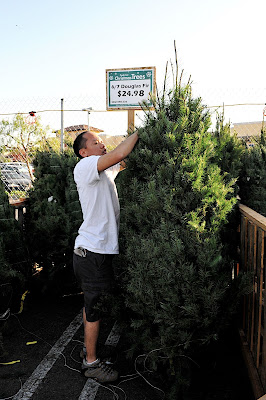
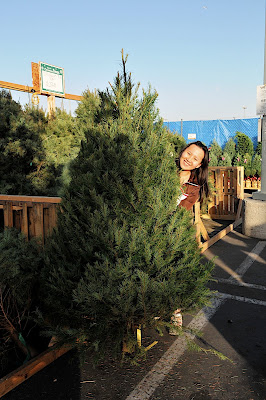
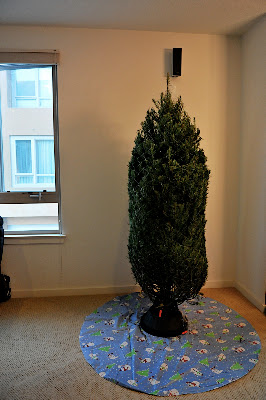
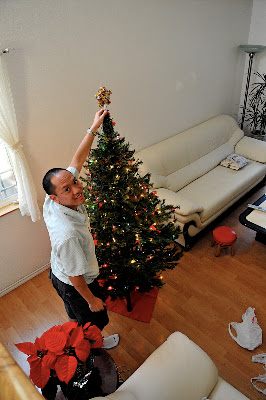
I've had a fake tree my whole life so it was such a treat this year to get a real tree!

Home Depot has reasonably priced trees.

They smell lovely!

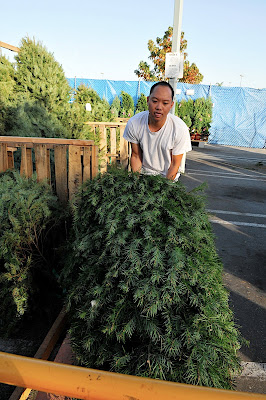
Gotta load them on the cart

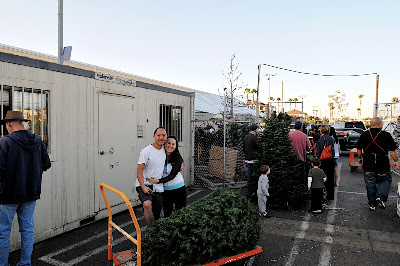
Lines weren't too long, we had fun watching other families pick out trees.

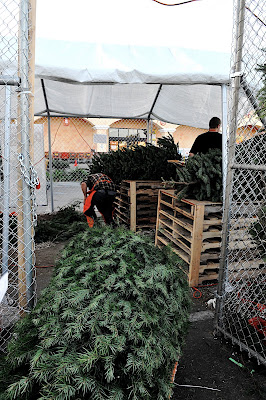
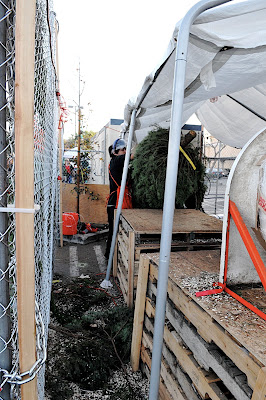
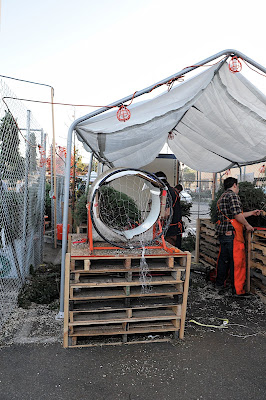
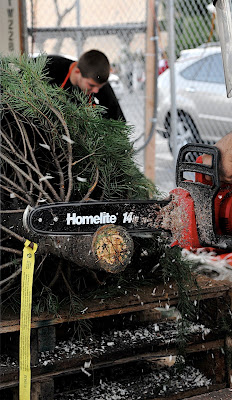
Tree needs to be trimmed and prepped

Assembly line style


Jer said that when buying a real tree look for one with a hefty trunk.  It'll be trimmed later, but best to buy one that is big in the first place!

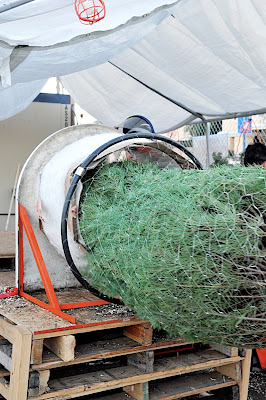
For easy transport

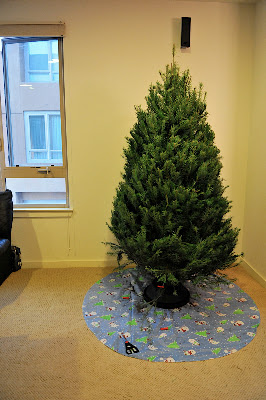
That "tree skirt" is really a vinyl tablecloth from the 99 cent store.  Waterproof, yeah!

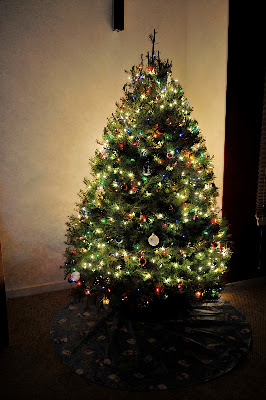
Slowly opening up

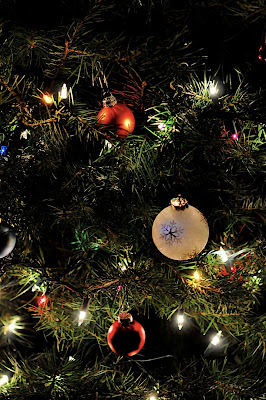
I bought all my xmas decorations after xmas last year, so they were massively on sale.

I forgot to buy hooks, and I was too lazy to go out, so we used paperclips.  Does the trick!

So pretty! :)
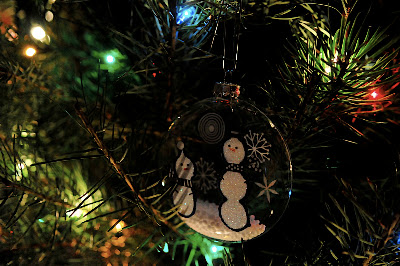
I love clear ornaments with stuff inside.  After xmas I'm going to find clear fill-able ornaments on sale and fill them up with cute stuff!  I'm thinking about making an ornament for every year.

I need to figure out how to show bokeh on the tree.
For those of you who are curious, this is the tree I had growing up.

I still decorate it for my parents every year.  Same ornaments too!  While new things are nice, I also embrace some traditions that haven't changed. :)
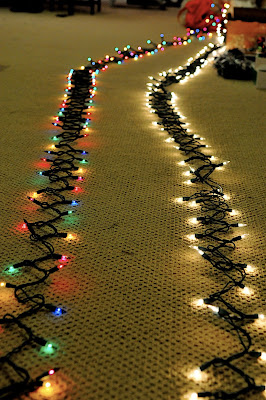
Happy holidays!

Tuesday, October 20, 2009

Throw/Sink/Hug Pillows

Our sofa has been in need of pillows- specifically, or unspecifically, the kind that can be thrown around, sunk into, or hugged to the chest when in need of comfort or during a scary movie. And the kind that accompanies a nap on the couch.


Pillows, IKEA for $2.99 ea. Fabric, $2/lb at Michael Levine loft (across the street from the actual Michael Levine store)


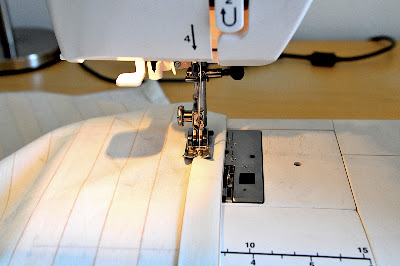
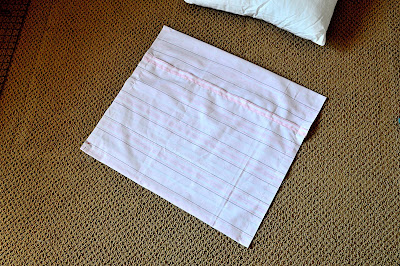
Fabric with lines in the design makes hemming so much easier


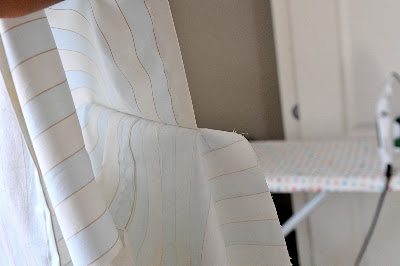
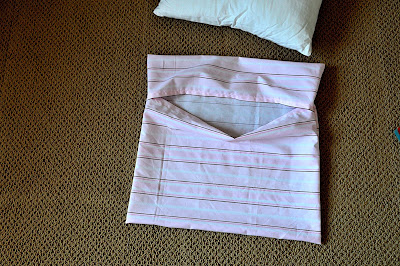
Just a peek through


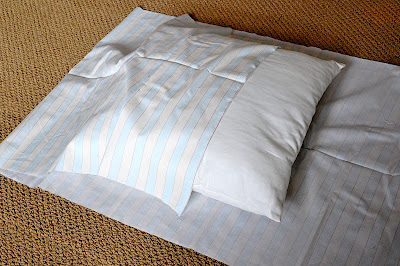
I pretty much freehanded this. I roughly measured how big the pillow was, allowed a couple inches for the puffiness and then hemmed the shorter edges. I folded over edges and sewed the sides.


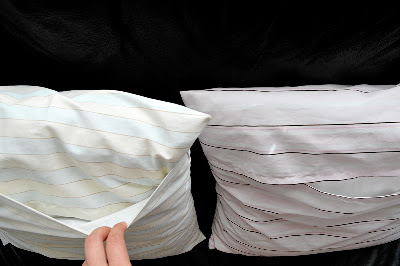
I had less pink fabric than blue fabric, so the overlap is not as deep as I would have liked.


You can tell what a difference it was here. I also made a boo-boo on the blue one and put the longer flap on the outside. But I was too lazy to rip off my seams, and they're just pillows. No one will notice except for me.

I deliberately made it easy to take the pillows out so we could wash the cases every once in a while. I forgot to preshrink the fabric so we may have to air dry them.

They have made TV watching more coma-inducing than ever.

Saturday, April 25, 2009

Butterfly Frame


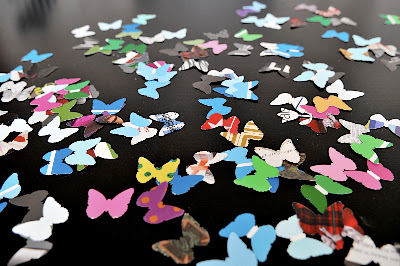
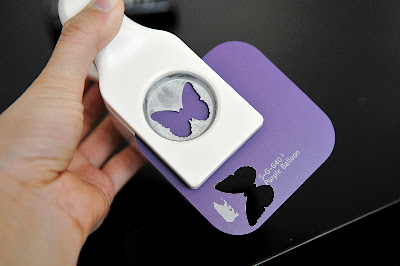
Ever since I saw this tutorial for a punch collage, I knew that I wanted to replicate it someday. I've been slowly building my collection of Martha Stewart punches and this butterfly one was my first.

Honestly, we were never going to paint our walls purple, but I really have a thing for collecting paint chips in every color. :)
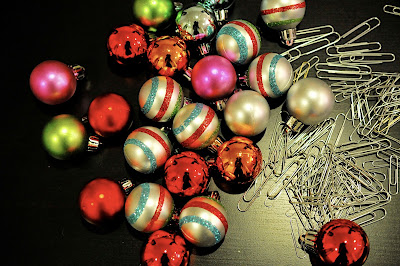
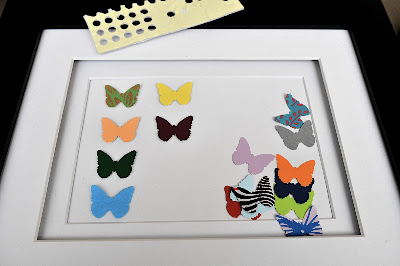
I used circle foam dots to adhere the punch-outs to the frame. It took me forever to decide how to arrange them. Forever. I'm so picky.

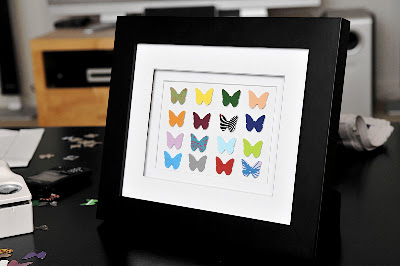
The final product! I can't wait to utilize my other MS punches for future projects. I recently bought a tulip punch. I'm waiting for the scallop edge border punch to come out!