The first step in designing my ring was choosing the center stone. This was the order we prioritized:
CutColor
Carat
Clarity

Image via Khulsey
Cut was the most important to us because no matter how sizeable a stone is, if the cut is bad then the quality just goes down the drain. And it just doesn't SPARKLE! In fact, many smaller stones with ideal cuts are more expensive than larger stones with lousy cuts. Of course other things factor into the total price, so it's really about finding the perfect combination of things that matter to you personally. But I can't emphasize enough how important the cut is!

Image via Conway Jewellers
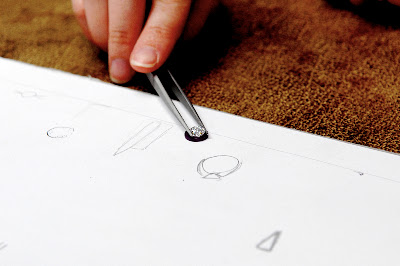
During our second visit, Liberty Diamonds showed us 3 loose stones to choose from based on our budget and our 4 C priority. We were able to check them out via a loupe and also the sarin machine. So cool. I don't remember what the specs of each one was anymore, but here's mine!
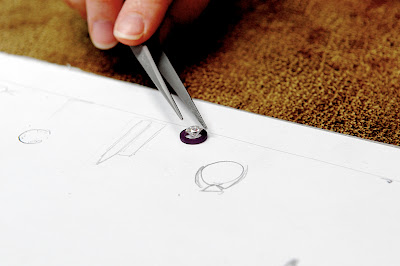
Ideal cut, F color, 0.81 C, VS1
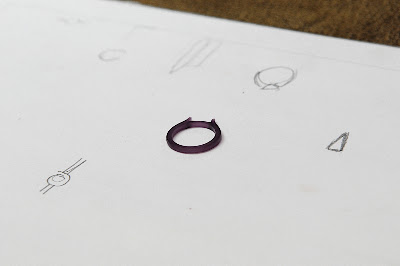
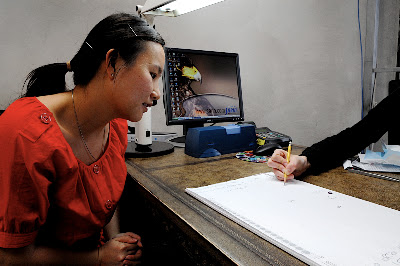
I was also able to describe how I wanted my ring designed. It helped to show our designer Cristina pictures of what I liked and didn't like. We discussed in detail down to the size of the taper and the pave stones. Based on my descriptions she was able to do a quick sketch. Then Jerry put down a deposit. At that moment, I was thinking oooo mmm geee it's really going to happen! We came back a week later (visit #3) to see the wax mold.

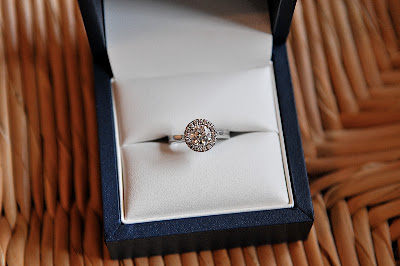
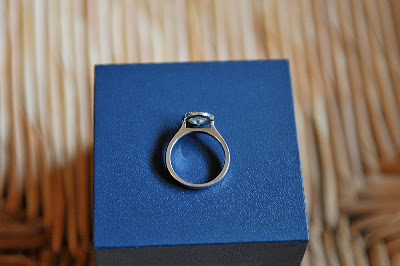
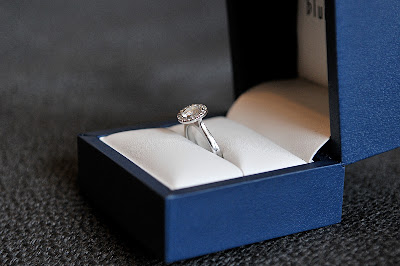
Our bands came in a Blue Nile box, so I'm using it here. Here's some more artsy fartsy pics. That's enough ring madness, I'll post on our bands later this year!

1 comment:
nice writeup!
Post a Comment